

Let's Dig into Planting Homegrown Potatoes
Imagine biting into some fluffy, tasty spuds that you nurtured from the soil yourself —yum!
Whether you’re new to gardening or a seasoned green thumb, this easy-going guide will walk you through everything you need to know to plant potatoes like a champ.
Let’s dig in!

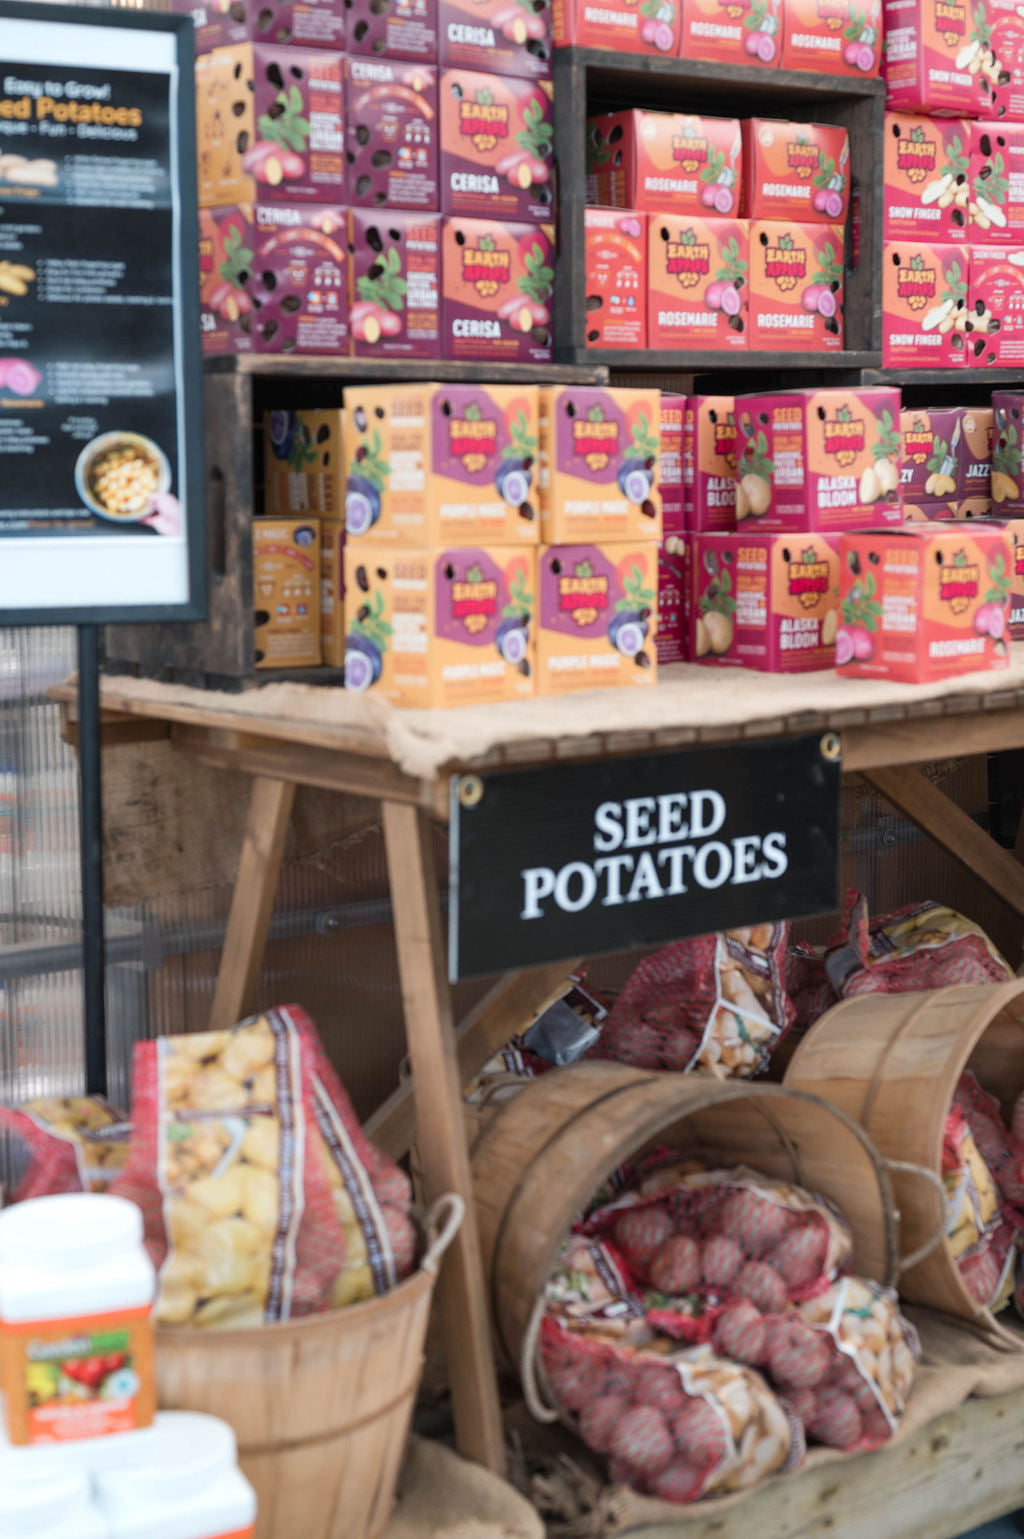
Which Potatoes to Grow?
Potato varieties fall into three categories based primarily on their maturity time: early, mid-season, and late potatoes.
- Early potatoes sprout and mature quicker (around 10-12 weeks, sometimes less in exceptional conditions). They’re perfect for planting as soon as the soil is workable in early spring, roughly mid-March in zones 7 and 8. Popular early types include 'Rocket,' 'Snow Finger,' 'Maris Bard,' 'Cerisa,' and 'Swift.' These should give you a speedy harvest to enjoy fresh new spuds earlier on in the growing season.
- Late potatoes take longer (about 16-20 weeks) and are best planted in late spring, say late April through to early May. They’re fantastic for storing because they develop thicker skins. Good late varieties include but are not limited to 'King Edward,' 'Estima,' 'Rosemarie,' and 'Kerr’s Pink.'
What is Chitting Potatoes & Why Should You Do It?
Chitting, also known as pre-sprouting, is a fancy word for getting your seed potatoes to sprout BEFORE you plant them in the ground. This strategy helps speed up growth and gives you a head start in the planting season.
Here’s how:
- Place your seed potatoes in a bright, cool (around 50-60°F or 10-15°C) and frost-free spot, such as a windowsill.
- Arrange them spaced out so the sprouts (called “chits” or "slips") have room to grow.
- Wait a few weeks for sturdy green shoots to grow to approximately 1 inch long. When planting time comes, these chitted potatoes will jump right into producing sturdy, healthy growth. Do not be alarmed if shoots start off pink, they will mature and turn green as they accumulate chlorophyll.

Maintenance Tips: Watering, Fertilizing & Storing
Watering
Potatoes like to stay consistently moist but not soaked. Aim to water about 1-2 inches per week, especially during flowering when the tubers bulge underground. Mulching with straw or grass clippings helps retain moisture and keep weeds at bay.
Fertilizing
If your soil is rich in organic matter, potatoes don’t need much extra feeding during their early growth phase. After the plants flower, you can give them a boost with a fertilizer high in potassium (last of the three numbers on the fertilizer composition ratio) to support tuber development. Avoid too much nitrogen (first number in ratio) —the leafy greens will love it, but your tubers might not!
A couple of excellent choices include Terralink's Veggie and Flower fertilizer, which has a constitution of 10-15-19 and micronutrients, which are crucial for developing large tubers with a concentrated flavour and creamy texture. If you're looking for an organic soil amendment, worm castings are incredible for growing potatoes, and a little goes a long way. They assist in the natural development of healthy soil-dwelling microorganism communities and act as a natural fertilizer. Two trusted brands include Gaia and Nurturing Nature.
Storing Your Harvest
Once the plants die back and the foliage turns yellow, which usually happens in late summer or early fall, it’s harvest time! Hoorah! Gently dig up your potatoes and let them dry in a cool, shady spot for a day or two. Then, store them in a cool (around 4°C or 40°F), dark and ventilated place like a root cellar or garage.
Avoid washing them before storage; simply brush off excess dirt. That skin protects them and helps them keep fresh for months.

Wrapping Up
Growing your own potatoes is like inviting a reliable, tasty friend into your garden who keeps rewarding you without too much hassle. Some potatoes will even perennialize, or come back in following years if some of the remaining tubers are left behind. With a bit of patience, good soil and these simple tips, you can enjoy a homegrown potato feast before you know it.
Happy Planting! 🥔🌱
Leave a comment
This site is protected by hCaptcha and the hCaptcha Privacy Policy and Terms of Service apply.